Disclaimer: The information in this article is compiled by evisaflow.com from official publications and open internet sources for informational purposes only, and does not constitute formal travel advice. Travel information (including but not limited to visa regulations, entry policies, fees, and attraction schedules) is subject to change without notice. Please verify all details independently with the relevant official authorities before traveling. evisaflow.com assumes no liability for travel disruptions or losses resulting from reliance on this content.
Guide
Visa Application
Border & Entry
5 min read
Vietnam eVisa Photo Requirements: Size, Glasses Rules, and Amendment Guide
Check the official Vietnam eVisa photo specifications and how to respond when immigration requests a photo amendment.
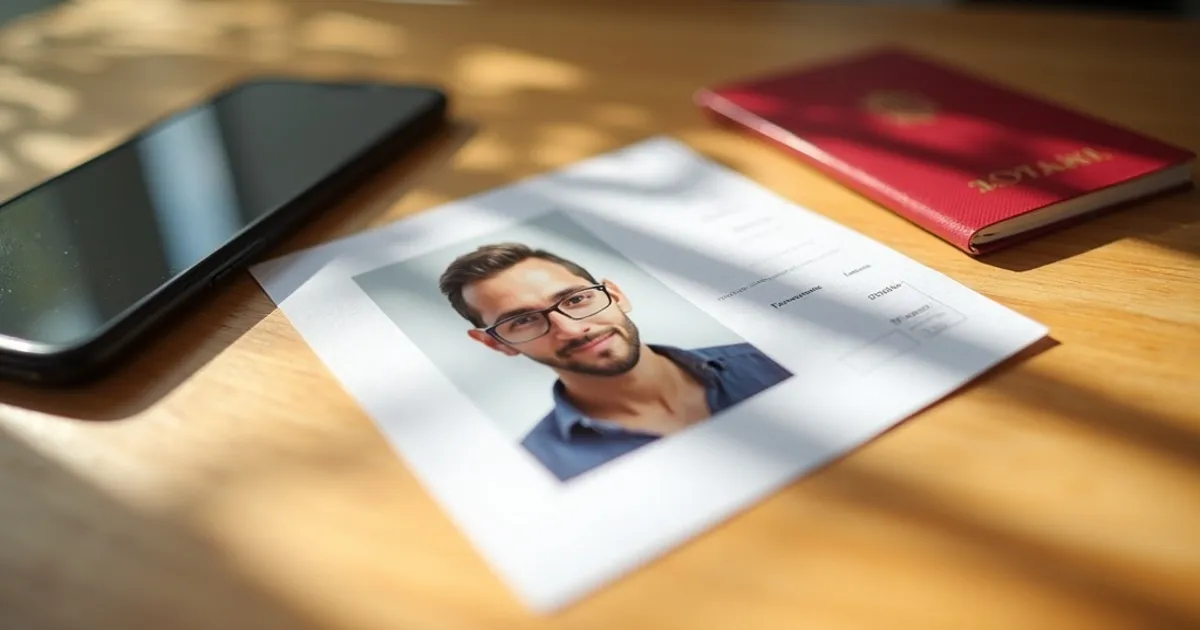
TL;DR: The Vietnam eVisa application requires a newly taken 4x6 cm portrait photo with a white background, in JPG/JPEG format and under 2 MB. The official instruction says to face forward in formal clothing without a hat or glasses. Use the official search page to check an application and follow any correction instructions shown there. If an issued eVisa contains an error, contact Immigration through the official support page before travel instead of assuming that it can be edited or that a new application is automatically required.
Quick Facts
| Parameter | Official Specification | Actions & Requirements |
|---|---|---|
| Photo Size | 4x6 cm (Passport photo format, vertical) | Digital upload in JPG or JPEG format |
| Background | White | Do not use a patterned or colored background |
| Glasses Policy | The official instruction says no glasses | Remove glasses before taking the portrait photo |
| File Size | Under 2 MB | JPG or JPEG only |
| Application Follow-up | Check with the eVisa application number, email, date of birth, and security code | Follow the instructions shown for your own application |
| Issued eVisa Errors | The public site provides an official support form for wrong application information | Ask Immigration for case-specific instructions before travel |
Official Portrait Photo Specifications
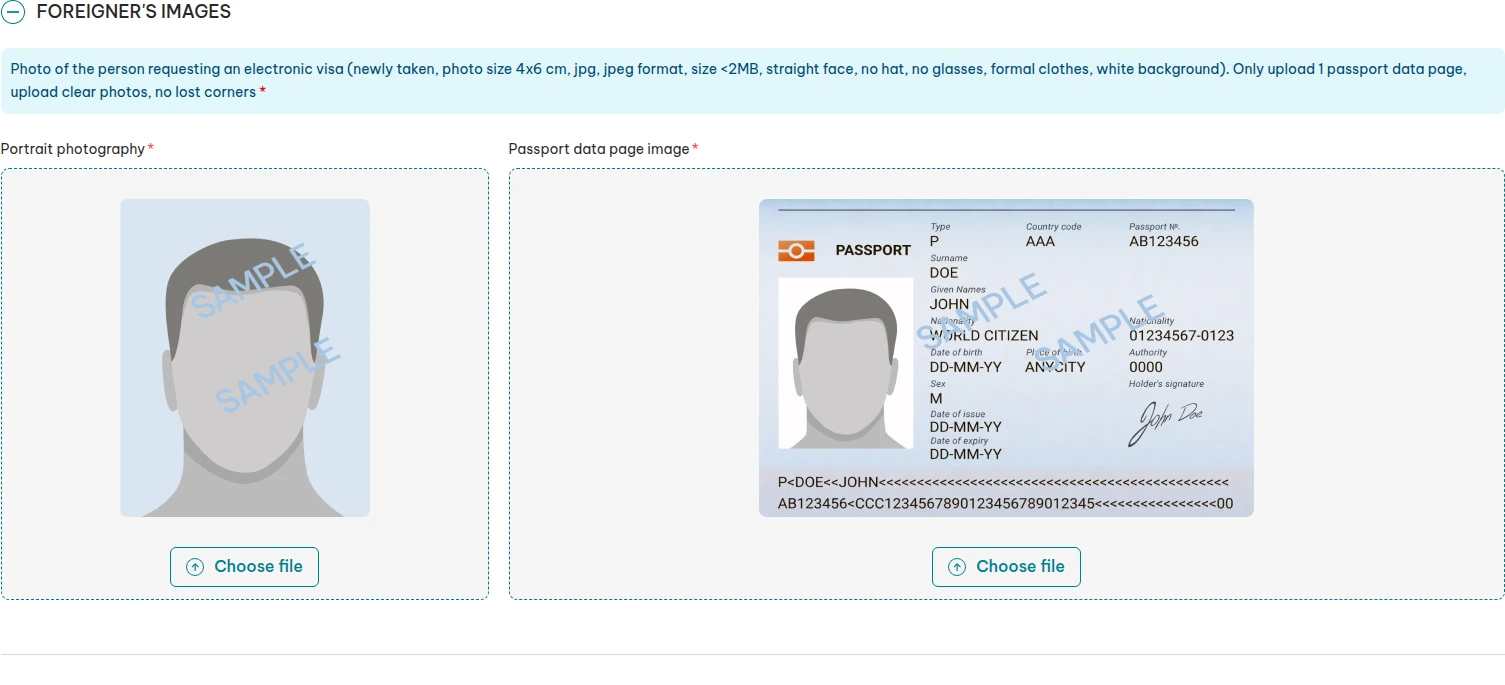
When applying for the Vietnam eVisa, you must upload a digital portrait photo that meets the strict rules set by the Vietnam Immigration Department.
- Dimensions: 4x6 cm (width to height ratio of 2:3).
- Head Position: Look directly at the camera with your face clearly visible. The official portal says no hat and no glasses.
- Background: Plain white only. Do not stand against a textured wall or an off-white background with visible shadows.
- Recency and clothing: Use a newly taken photo and wear formal clothes, as stated on the official form.
Prepare the Image File Before Uploading
You can use a phone to take the photo, but check the exported file rather than just the image in your gallery. Stand in front of a plain white background, face the camera, remove your hat and glasses, and use even lighting to avoid shadows. Ask someone to take the picture if holding the phone yourself changes the angle.
- Keep the portrait upright. The 4x6 cm specification corresponds to a 2:3 width-to-height ratio. Crop without stretching your face. The public form does not give a single mandatory pixel size or DPI value.
- Export a real JPEG. If your phone saved HEIC or PNG, use an image editor's export function to produce JPG/JPEG; renaming the extension does not convert the format.
- Check the saved file. Keep it under 2 MB, then reopen it to check that the face remains clear after compression. Keep the original so you can export again without repeatedly compressing an already degraded copy.
- Use the right upload field. Put your portrait under Portrait photography and the passport biodata image under Passport data page image. Check the preview before continuing. A file appearing in the form is not confirmation that Immigration has accepted the photo.
How to Check an Application That Needs Correction
If Immigration asks for a correction, follow the status and reason displayed for your own application. The public pages do not promise that every photo problem receives the same label or correction controls.
Step 1: Check the Official Application Record
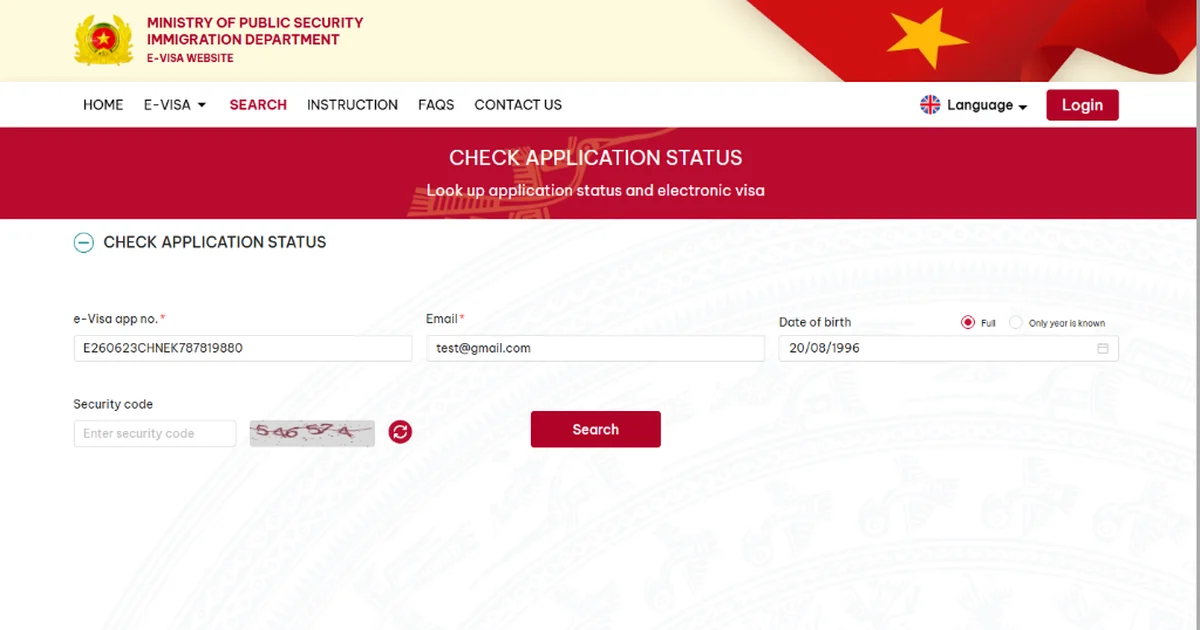
Open the Vietnam eVisa Search Portal. The current official page asks for:
- eVisa application number;
- registered email;
- date of birth; and
- the security code shown on the page.
Step 2: Follow the Instructions Shown for Your Application
- Read the status and any reason or instruction displayed by the official system.
- If the system provides a correction option for the portrait, upload a newly taken photo that meets every specification on the official form.
- Review the rest of the application as well. The official form instructs applicants to enter their name as shown on the passport's ICAO line.
- Submit only through the official workflow presented for your application, then continue checking the official portal and registered email. Do not assume a fixed correction-processing time unless Immigration gives one.
What to Do If an Issued eVisa Contains an Error
If an issued eVisa has a photo or personal-data error, do not assume that the document is usable or that the correction process will be the same as for a pending application.
Use the Immigration Department's official support form, which currently includes the category "Wrong application information," and ask for case-specific instructions before travel. The public site does not publish a general promise that an issued eVisa can be self-edited, and it does not state that every such case automatically requires a new application.
When contacting support, have your application number and registered email ready. Describe the error precisely, include the intended travel date, and attach a relevant image if needed. Send personal documents only through the official channel. Do not repeatedly submit new applications or pay again merely because you have not yet received an answer.
References
- Official Vietnam eVisa application and photo instructions: Application Portal
- Vietnam eVisa Status Search: Official Search Page
- Vietnam eVisa Support: Official Support Page
- Vietnam Immigration Department: Official Portal
eVisaFlow tool
Filling official eVisa and arrival forms?
eVisaFlow helps you reuse passport details and reduce repetitive typing when you complete supported Southeast Asia eVisa and arrival forms.
Related Reading
Guide
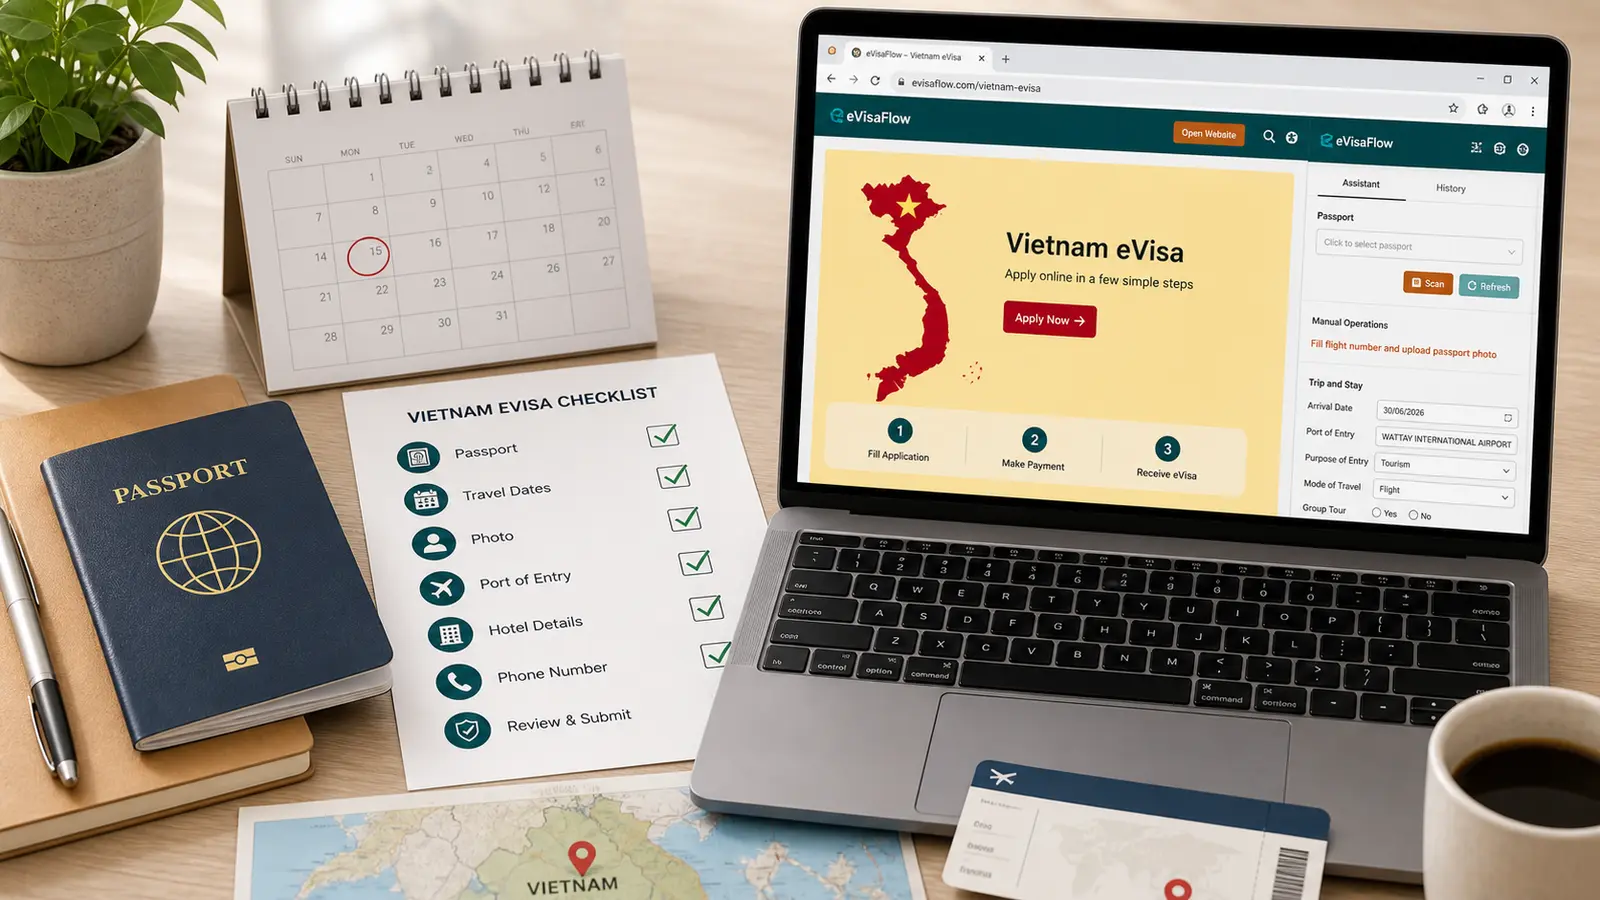
Vietnam eVisa Checklist Before You Apply
Check your passport, photo, travel dates, entry ports, official portal, and payment details before submitting a Vietnam eVisa application.
Guide
How to Verify Your Vietnam E-Visa: Official Status Check Guide
Check a Vietnam eVisa against the official application record and obtain the government-issued copy before you travel.
Guide
Vietnam eVisa Official Website: Application Steps, Fees, and Common Mistakes
Use Vietnam's official eVisa website, understand the government fees and processing time, and prepare the current application details.
Guide
Lost Passport in Vietnam: Replacement Passport and Exit Visa Guide
After losing a passport in Vietnam, get a police report, replace the travel document, and arrange the replacement or exit visa required before departure.